Last Updated & Reviewed: 27th June 2021
Updated By: Chris
Introduction
This article will teach you how to add Google Tag Manager to a WordPress website to track its performance.
Prerequisites For This Process
The prerequisites for this workflow are:
- A good working knowledge of the WordPress administration area
- A Google account.
- A WordPress website for which you manage the web hosting (please click this link, if you need high quality WordPress web hosting)
Quick Overview Of Google Tag Manager
What Is Google Tag Manager?
Google Tag Manager is an important tool for understanding what audiences like on your site, where they are getting lost in the process, and which areas of your content need improvement. With this information at hand, you can pinpoint specific sections that might be causing a slowdown or sticking point within the user flow–alongside other metrics such as time spent per page visit or bounce rate–to see if it’s worth tweaking them any further.
How Long Does It Take To Add Google Tag Manager?
It should take you no longer than 10 minutes to complete, and I assume you have a reasonable knowledge of working with WordPress.
Why Do I Need Google Tag Manager?
Why is this task important – Google Tag Manager is a great tool to add, and manage, multiple pixels and tracking codes without the need to edit the WordPress code itself.
This work-flow is carried out only once – Google Tag Manager is a one time WordPress install.
Get Your Working Environment Setup
For the purpose of this tutorial, we will be using Chrome…
1 – Download the Google Tag Assistant Legacy Chrome Extension (Free)
2 – Sign up for Google Tag Manager (Free):
a) You’ll need to log in to your Google account.
b) If you don’t already have a Google Tag Manager Account, you’ll be prompted to set up.
-
-
- Use your company/website name for both the account and container.
- Under “Where to Use Container”, select “Web”
-

c) Accept the terms and conditions.
d) You will see your Google Tag Manager code, but you won’t need it using this method.
e) Once, you are in your Workspace, make note of your Google Tag Manager ID

f) Click submit

g) Click Publish

h) Click on Continue to publish your Google Tag Manager container

And finally, all done!

How To Install and Set up The Google Tag Manager WordPress Plugin
- Log into your WordPress site.
- In the WordPress sidebar, go to Plugins > Add New.
- Enter “Google Tag Manager for WordPress” in the search box.
- Install the Google Tag Manager for WordPress plugin (the image may vary).

- Activate the plugin.
- In the WordPress sidebar, go to Settings > Google Tag Manager.
- Paste your Google Tag Manager ID (the one you got from the Google Tag Manager dashboard) in the available field.
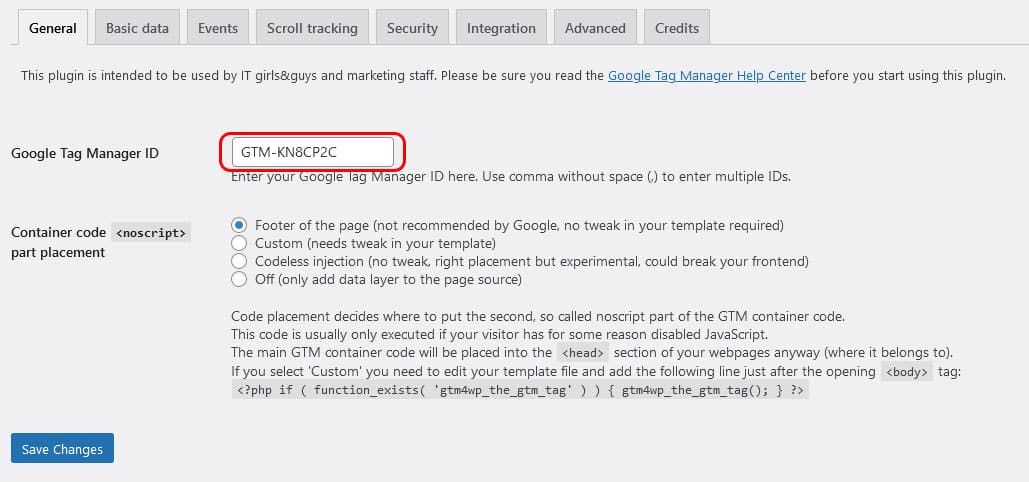
- The plugin offers several ways to install the container code on your site. Before you implement any of these, we recommend you create a backup of your site.

Option 1: Codeless injection (best option)
- With this option, the plugin will try to figure out the right placement for the container for you. This is the easiest option, but there’s a small risk it might break something on the frontend of your site. If you decide to go with codeless injection, select this option from the list and click “Save changes”.
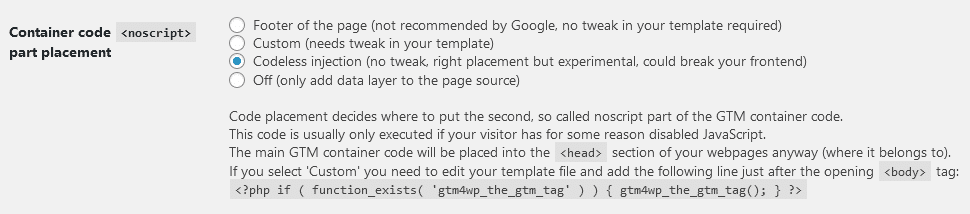
After selecting this, visit the website in a new tab or window and make sure everything looks right. If it does, you can move on to the next step of Checking the installation.
Option 2: Custom(for advanced WordPress users)
- With this option, you will need to make a small edit to your theme files. If your WordPress theme allows you to make changes, and you’re comfortable with the theme editor, you can use this option. Select the “Custom (needs tweak in your template)” container code placement and click on “Save Changes.”
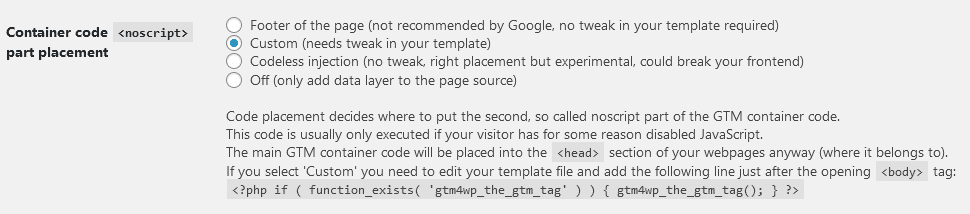
- Copy the PHP code provided by the plugin and click on “Save Changes”.
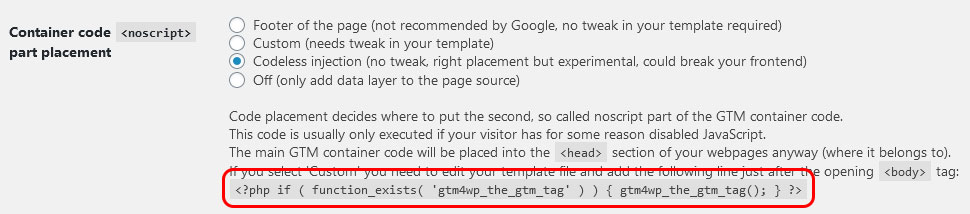
- In the WordPress sidebar, go to Appearance > Theme Editor.
- Make sure that you are editing the theme that you currently have installed in your site (you can go to Appearance > Themes to check the name of the theme you are using).

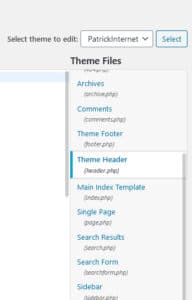
- Select the “Theme Header” template from the list on the right.
- This template is different depending on the theme that you have installed. However, you will always be able to find an opening tag in the code.
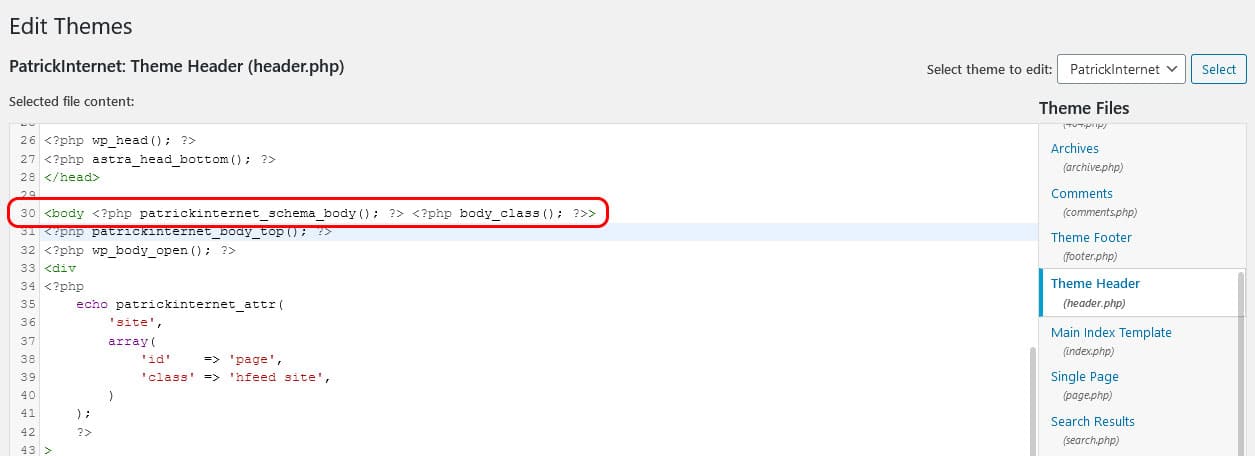
- Paste the PHP code provided by the plugin right below the opening tag.
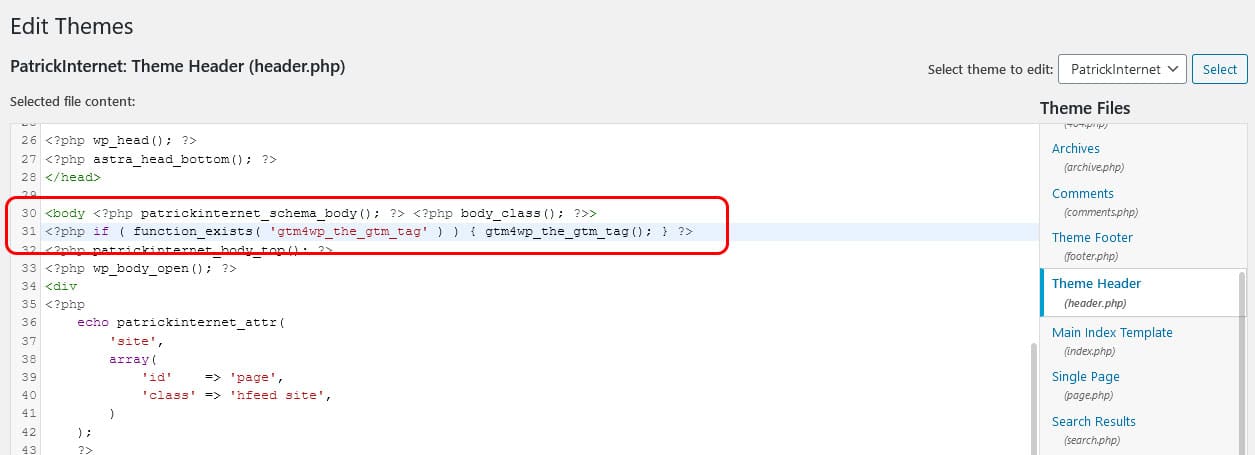
- Click the button in the bottom left, labelled “Update File”.


How To Test If Google Tag Manager Is Working
Using The Google Tag Assistant Chrome Extension
- Open your website homepage using Chrome.
- Click on the Google Tag Assistant Chrome Extension.

- Click on “Enable”.
- Refresh the page and click on the Google Tag Assistant Chrome Extension again.
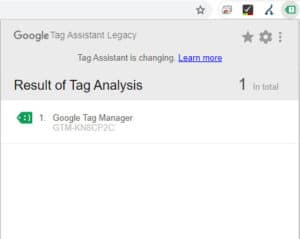
- You should see a green tag for Google Tag Manager, indicating that the installation was successful.